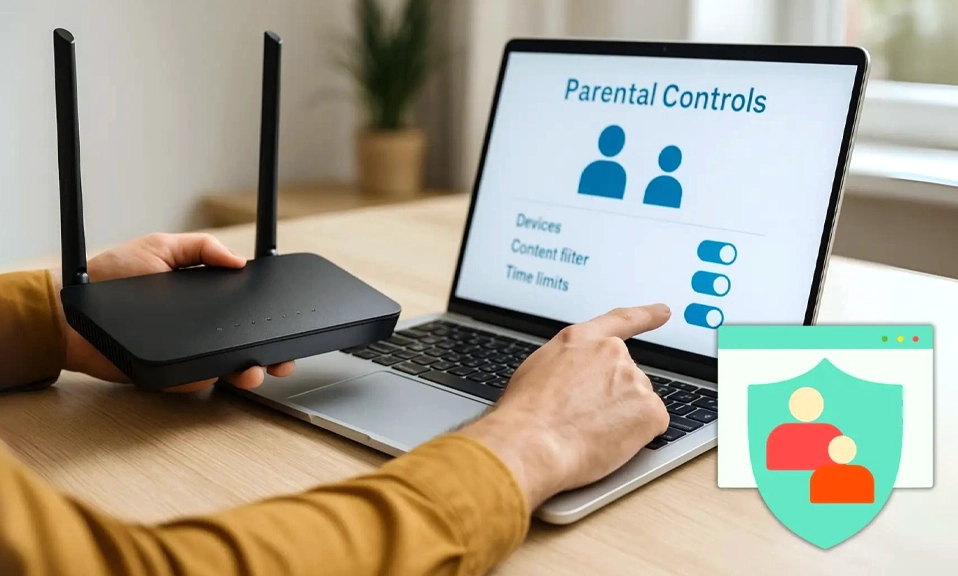
Parenting in the digital age feels a bit like trying to guard a castle with a thousand drawbridges. You set screen time limits on their iPad, block adult sites on their laptop, and restrict YouTube on their phone. But the moment they connect to the home Wi-Fi, the battle begins all over again.
What if you could secure the front door of your digital castle instead of locking every single window?
Enter Router-Level Parental Controls.
By configuring your Wi-Fi router, you can filter content, set time limits, and pause the internet for specific devices across your entire home. It’s the ultimate “set it and forget it” solution for keeping your kids safe online.
Here is your complete, step-by-step guide to setting up parental controls on your Wi-Fi router and reclaiming your household’s sanity.
🏰 Why Router-Level Controls Are the Gold Standard
Before we dive into the “how,” let’s talk about the “why.” Why not just use the parental controls built into your kid’s iPhone or Android?
Because router-level controls are inescapable. If you restrict an app on a phone, a tech-savvy tween can often find a workaround. But if the router blocks the internet connection entirely, or filters out inappropriate websites at the network level, it doesn’t matter if they are using an iPad, a gaming console, a smart TV, or a friend’s phone. If it connects to your Wi-Fi, your rules apply.
📱 Step 1: Access Your Router’s Settings
The method depends on how modern your router is.
The Modern Way (Mobile App): If you have a newer router or a Mesh system (like Eero, TP-Link Deco, Google Nest, or Asus), you likely manage it via a smartphone app.
- Open your router’s official app.
- Look for a tab labeled Parental Controls, Family Protection, Content Filtering, or Access Control.
The Classic Way (Web Browser): If you have an older router or an ISP-provided gateway, you’ll use a web browser.
- Ensure your computer or phone is connected to your Wi-Fi.
- Open a browser and type your router’s IP address into the URL bar (usually 192.168.1.1 or 192.168.0.1—check the sticker on the bottom of your router).
- Log in with your admin username and password.
- Look through the menus for Parental Controls, Security, or Access Management.
👤 Step 2: Create Profiles and Group Devices
Don’t just apply rules to “Device_XY123.” That gets confusing fast. The best routers allow you to create user profiles.
- Create a Profile: Name it after your child (e.g., “Leo’s Devices” or “Teenager Zone”).
- Assign Devices: The router will show a list of all devices currently on your network. Select your child’s iPad, their Nintendo Switch, and their laptop, and assign them to “Leo’s Profile.”
- Pro Tip: Create separate profiles for different age groups. “Little Kids” will have strict filters, while “Teens” might just have time limits.
🛑 Step 3: Set Content Filters (The Digital Bouncer)
This is where you block the bad stuff. Most routers use pre-categorized databases to block websites.
- Choose an Age Group or Custom Categories: Many routers have presets like “Child,” “Pre-Teen,” or “Teen.” Selecting “Child” will automatically block adult content, gambling, violence, and social media.
- Custom Blocking: If you want more control, you can manually block specific categories (e.g., block “Social Media” and “Gaming” during the week, but allow them on weekends).
- Blacklist/Whitelist: You can also manually type in specific websites to block (like a specific game site) or whitelist (allowing only educational sites like Khan Academy).
⏰ Step 4: Set Time Schedules and Bedtimes
This is the feature that will save your sanity. You can dictate exactly when the internet is available for specific profiles.
- Internet Pause/Bedtime: Set a schedule to cut off Wi-Fi access at night. For example, set the internet to turn off at 9:00 PM and turn back on at 6:30 AM. This guarantees they are sleeping, not scrolling TikTok at 2:00 AM.
- Time Limits: Some routers allow you to set a daily time budget (e.g., 2 hours of total internet per day). Once they hit 2 hours, the Wi-Fi cuts off until midnight.
- Homework Hours: You can block distracting categories (like YouTube or Gaming) between 3:00 PM and 6:00 PM, while leaving educational sites wide open.
⏸️ Step 5: Master the “Pause” Button
If your router’s app has a one-tap “Pause Internet” button for specific devices, learn to love it.
Did you just call the kids for dinner, and they are ignoring you because they are in the middle of a Fortnite match? Open your app, find “Leo’s Devices,” and hit Pause. Their games will instantly freeze.
It is the single most effective, non-verbal parenting tool in the digital age. Use it wisely.
💡 3 Pro Tips for Router Parental Controls
- Be Transparent, Not Secretive: Don’t use these controls as a spy tool. Sit your kids down and say, “I’ve set up the router to turn off the Wi-Fi at 9 PM so we can all get better sleep, and it blocks some inappropriate sites to keep you safe.” When kids know the rules, they push back less.
- Layer Your Defenses: Router controls are amazing, but they only work inside the house. You still need to use Apple Screen Time or Google Family Link on their phones to manage app usage and location tracking when they leave the house.
- Check for “HTTPS” Limitations: Older routers can only block HTTP (unencrypted) websites. Modern websites use HTTPS. If your router is old, it might struggle to filter specific HTTPS sites. If this is the case, it’s time to look into upgrading to a modern Mesh system with robust, cloud-based parental controls (like Amazon’s Circle on Eero, or Asus’s built-in AiProtection).
Guiding, Not Just Guarding
Setting up parental controls on your router isn’t about punishing your kids or restricting their freedom. It’s about creating a safe digital environment where they can explore, learn, and play without stumbling into the dark corners of the internet.
It takes about 15 minutes to set up, but it provides 24/7 protection.
Take control of your home’s front door today. Your kids’ developing brains (and your evening peace and quiet) will thank you.