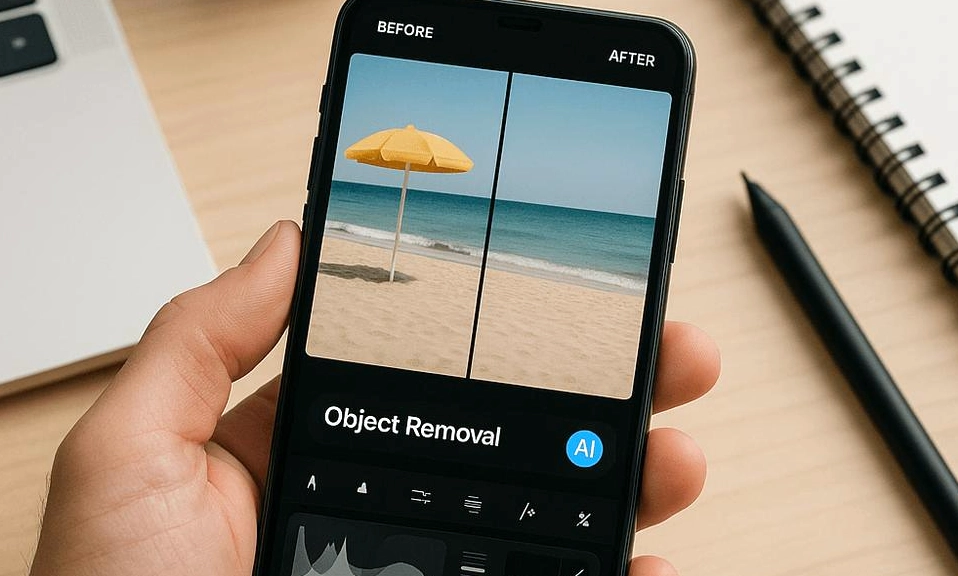
You have a great photo—except for the stranger in the background, the bin in the corner, or the photobomber who ruined an otherwise perfect shot. In 2026, you no longer need Photoshop or a desktop computer to fix it. AI-powered object removal is built into most modern smartphones, and it takes seconds to use. Here is a simple guide to erasing unwanted people and objects from your photos, using the tools already on your phone.
What Is AI Object Removal?
AI object removal uses machine learning to analyze the area around the object you want to delete and then generates replacement pixels that blend seamlessly with the background. It is not simply cloning or smudging—the AI understands context, texture, and lighting, filling the gap with content that looks natural. The result is a clean image that looks as if the unwanted element was never there.
The technology is now standard on flagship phones and available through free apps on almost any Android or iPhone. The quality varies, but for most everyday photos, the results are impressively good.
Method 1: Use Your Phone’s Built-In Tool
Most major smartphone brands have integrated object removal into their photo editing apps. Here is how to find it on the most common devices.
Google Photos (Pixel and Most Android Phones)
Google’s Magic Eraser is the benchmark for AI object removal on smartphones.
Open the photo in Google Photos.
Tap Edit (the sliders icon).
Select Tools and then Magic Eraser.
Use your finger to circle or brush over the person or object you want to remove. You can also tap “Suggestions” —the AI will automatically highlight potential distractions like photobombers or power lines.
Tap Erase and wait a moment. The AI fills the area.
If the result is not perfect, use the undo button and try a smaller selection.
Magic Eraser is available on Pixel devices and Google One subscribers on other Android phones and iPhones.
Samsung Galaxy (Object Eraser)
Samsung’s Object Eraser is part of the Gallery app’s editing suite.
Open the photo in the Gallery app.
Tap Edit (the pencil icon).
Tap the three-dot menu in the corner and select Object Eraser.
Draw around the object you want to remove. You can adjust the brush size.
Tap Erase.
Use Undo if needed, or fine-tune with a smaller brush.
iPhone (Clean Up)
Apple introduced Clean Up in iOS 18 and later, powered by Apple Intelligence.
Open the photo in the Photos app.
Tap Edit.
Tap Clean Up (the eraser icon).
Brush over the object or person. The AI highlights what it plans to remove.
Tap Done. You can undo and try again if the result looks off.
Clean Up is available on iPhone 15 Pro and later models running iOS 18.1 or later. On older iPhones, you will need a third-party app.
Method 2: Use a Free Third-Party App
If your phone does not have a built-in tool, or if you want more control, several free apps offer excellent AI removal.
Snapseed (Android and iOS)
Snapseed is a free Google app with a powerful Healing tool.
Open the photo in Snapseed.
Tap Tools and select Healing.
Brush over the object. The app will fill the area automatically.
Pinch to zoom in for precision. Tap the checkmark to apply.
Snapseed’s Healing tool is not as context-aware as Magic Eraser, but it works well for simple backgrounds like skies, grass, or walls.
Photoshop Express (Android and iOS)
Adobe’s free mobile app includes a Remove tool powered by AI.
Open the photo in Photoshop Express.
Tap Remove in the toolbar.
Brush over the object.
Tap Remove and wait for the AI to process.
Photoshop Express is free with optional in-app purchases, and the removal quality is consistently good.
Canva (Android and iOS)
Canva’s Magic Eraser is available in the free version of the app for limited use.
Open your photo in a Canva project.
Tap the photo, then tap Edit.
Select Magic Eraser.
Brush over the object and tap Erase.
Canva is a good option if you already use it for design projects, but the free tier has usage limits.
Tips for Better Results
AI removal is powerful, but it is not magic. These tips will help you get cleaner, more natural results.
Work on a copy. Always duplicate the photo before editing so you can revert if the result looks wrong.
Select tightly. Brush only over the object you want to remove, not the surrounding area. A tighter selection gives the AI more context to work with.
Zoom in. Small objects are easier to remove cleanly when you zoom in and use a precise brush.
Avoid complex backgrounds. AI removal works best on simple, repeating textures like sky, water, grass, or plain walls. It struggles with intricate patterns, faces, or crowded scenes.
Remove in stages. If you are deleting multiple objects, do them one at a time rather than all at once. This gives the AI a better chance of filling each area correctly.
Check the edges. After removal, zoom in and look for smudging, repeated patterns, or lighting inconsistencies. If something looks off, undo and try a smaller selection.
Use the clone tool as a backup. If the AI result is poor, most editing apps also offer a manual clone or healing brush that lets you copy pixels from a nearby area.
The Limitations (and the Ethics)
AI removal is impressive, but it is not flawless. It can produce blurry patches, repeated textures, or unnatural lighting, especially on complex backgrounds. It also cannot recover detail that was never captured—if the object covered something important, the AI is guessing at what was behind it.
There is also an ethical dimension. Removing a stranger from a holiday photo is harmless. Removing a person from a photo to misrepresent an event, create a false narrative, or harass someone is not. Use these tools responsibly, and remember that the same technology can be used to create misleading images. If you are editing a photo for public sharing, be transparent about it when the change is significant.
Removing unwanted people
and objects from photos used to require expensive software and hours of practice. In 2026, it takes seconds on the phone in your pocket. Whether you use Google’s Magic Eraser, Samsung’s Object Eraser, Apple’s Clean Up, or a free app like Snapseed or Photoshop Express, the tools are accessible, intuitive, and surprisingly effective.
Start with your phone’s built-in option—it is the fastest and often the best. If you need more control, try a third-party app. And always work on a copy so you can experiment without losing the original. The perfect shot is closer than you think.