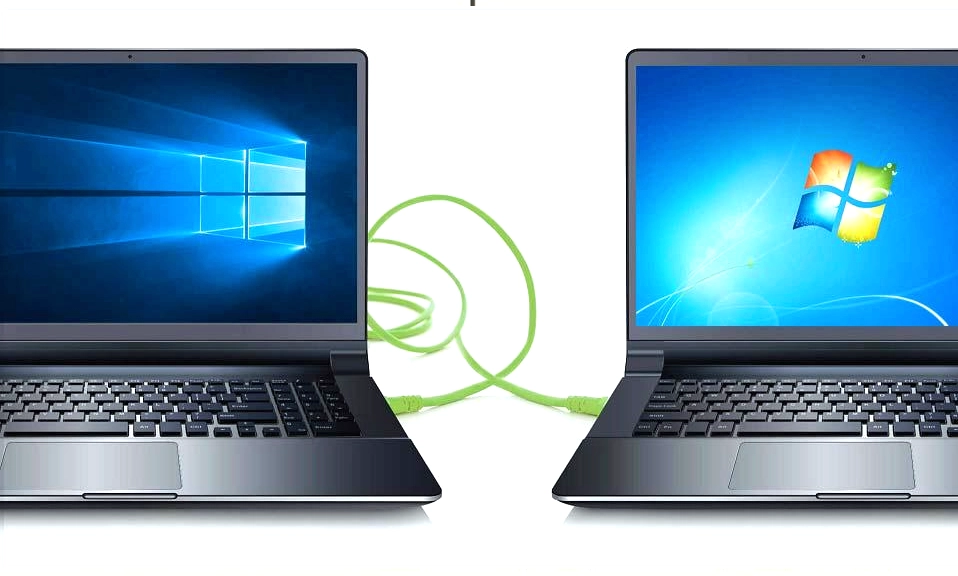
Remember the “sneakernet”? That’s the old-school practice of saving a file to a USB drive, walking across the room, and plugging it into another computer. Or maybe you’ve experienced the modern equivalent: waiting 20 minutes for a massive video file to upload to the cloud, only to download it on another PC.
There is a much better, faster, and completely free way: Local Area Network (LAN) file sharing.
By sharing files directly over your home Wi-Fi or Ethernet network, you can transfer gigabytes of data in seconds. It’s lightning-fast, highly secure (since the data never leaves your house), and doesn’t eat up your cloud storage limits.
Whether you’re moving between two Windows PCs, two Macs, or a mix of both, here is your complete, step-by-step guide to setting up seamless local file sharing.
✅ The Prerequisites (Do This First)
Before diving into the settings, make sure you have these three things covered:
- Same Network: Both computers must be connected to the exact same Wi-Fi network or router (via Ethernet).
- Network Discovery: Your computers need to be allowed to “see” each other. (We’ll turn this on in the steps below).
- User Credentials: You will need the username and login password of the computer you are trying to access.
🪟 Method 1: Windows to Windows (The Built-in Way)
Step 1: Turn on Network Discovery
- Open Settings > Network & internet > Advanced network settings.
- Click on Advanced sharing settings.
- Under “Private networks,” toggle Network discovery and File and printer sharing to On.
- Crucial: Under “All networks,” ensure Password protected sharing is turned On. (This ensures only people with your PC’s login credentials can access your files).
Step 2: Share a Specific Folder
- Right-click the folder you want to share and select Properties.
- Go to the Sharing tab and click Advanced Sharing.
- Check the box for Share this folder.
- Click Permissions. By default, “Everyone” has “Read” access. If you want the other computer to be able to add, edit, or delete files in this folder, check the Allow box for Full Control or Change. Click OK on all windows.
Step 3: Access the Shared Folder
- On the second computer, open File Explorer.
- Scroll down the left sidebar and click on Network.
- You should see the name of the first computer. Double-click it.
- Enter the username and password of the first computer when prompted. You’ll now see the shared folder and can drag-and-drop files at lightning speed!
🍎 Method 2: Mac to Mac (The Apple Way)
Step 1: Enable File Sharing
- Click the Apple menu > System Settings > General > Sharing.
- Toggle the switch for File Sharing to On.
- Click the “i” (Info) button next to File Sharing.
Step 2: Choose What to Share
- Under “Shared Folders,” click the “+” button to add the folders you want to share (e.g., your Documents or a specific project folder).
- Select the folder, and on the right side under “Users,” ensure the people you want to share with have Read & Write or Read Only permissions.
- Click Options and ensure “Share files and folders using SMB” is checked.
Step 3: Access the Shared Folder
- On the second Mac, open Finder.
- Look at the left sidebar under Locations and click Network.
- Double-click the name of the first Mac.
- Click Connect As in the top right, enter the username and password of the first Mac, and you’re in!
🌉 Method 3: Cross-Platform (Windows ↔ Mac)
Sharing between different operating systems is easier than you think, thanks to the universal SMB (Server Message Block) protocol.
To access a Windows PC from a Mac:
- Find the Windows PC’s IP address (Open Command Prompt on Windows, type
ipconfig, and note the “IPv4 Address”, e.g.,192.168.1.15). - On the Mac, open Finder, click Go in the top menu bar, and select Connect to Server (or press
Cmd + K). - Type
smb://followed by the Windows IP address (e.g.,smb://192.168.1.15) and click Connect. - Enter the Windows PC’s username and password.
To access a Mac from a Windows PC:
- Find the Mac’s IP address (System Settings > Network > Wi-Fi > Details > IP Address).
- On Windows, press
Windows Key + R, type\\followed by the Mac’s IP address (e.g.,\\192.168.1.20), and press Enter. - Enter the Mac’s username and password when prompted.
🚀 Method 4: The “No-Setup” Cheat Codes (Highly Recommended)
Let’s be honest: messing with OS network settings can sometimes be clunky. If you just want to send a few files quickly without configuring permissions, use these brilliant, free tools:
- LocalSend (Best Overall): A free, open-source app available on Windows, Mac, Linux, Android, and iOS. As long as both devices are on the same Wi-Fi, you just open the app, select the files, and tap the receiving device. No internet required, no accounts, blazing fast. is a browser-based tool that works exactly like Apple’s AirDrop, but for any device. Open snapdrop.net on both computers’ web browsers, and you can drag and drop files directly between them over your local network.
- Shared Network Folders (OneDrive/Dropbox): If the files aren’t massive, simply saving them to a cloud folder that is installed on both PCs will sync them automatically. (Though this uses your internet bandwidth, unlike true LAN sharing).
🛡️ 3 Golden Rules of Network Sharing Security
- Never Share on Public Wi-Fi: Always turn off Network Discovery and File Sharing when you take your laptop to a coffee shop, airport, or hotel. You don’t want your files visible to strangers on the same public network.
- Use “Read-Only” for Guests: If you must share a folder with someone you don’t entirely trust, give them “Read Only” permissions. This lets them copy files from your computer, but prevents them from deleting or altering your originals.
- Hide the Share (Optional): In Windows Advanced Sharing, you can add a
$to the end of the share name (e.g.,SecretFolder$). This makes it a “hidden share” that won’t show up in the Network browser. You have to type the exact path (\\ComputerName\SecretFolder$) to access it.
Ditch the USB Drive
Once you set up local network sharing, you’ll wonder how you ever lived without it. Transferring a 5GB video file over a Gigabit Ethernet or Wi-Fi 6 network takes seconds, compared to the minutes it would take to upload and download via the cloud.
Take 10 minutes this weekend to set up a shared “Transfer” folder on your main computer. Your future self will thank you the next time you need to move a massive batch of photos or projects between devices.