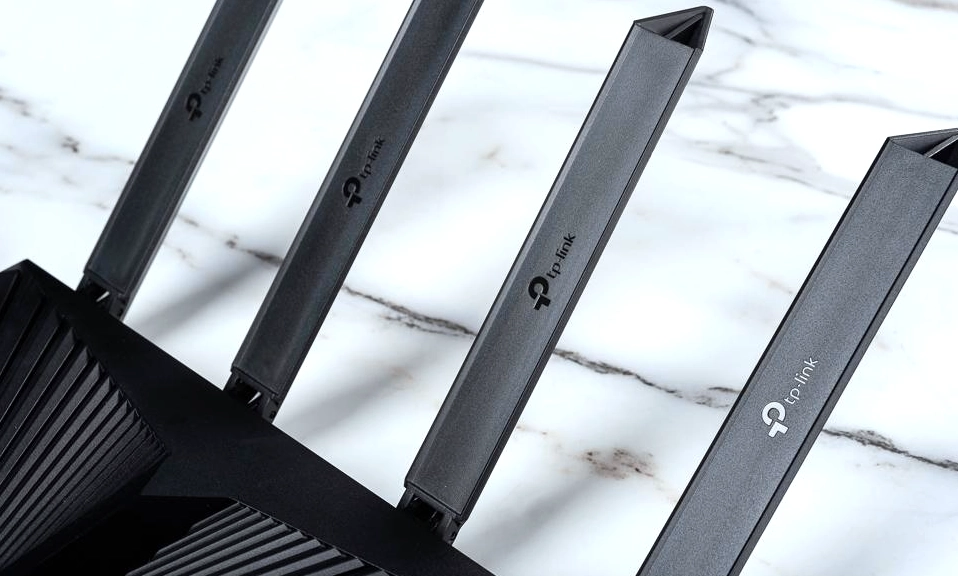
Configuring a new TP-Link router is a straightforward process that typically takes about 5 to 10 minutes. You can complete the setup using either the TP-Link Tether smartphone app or a web browser on a computer. The exact steps can vary slightly depending on whether your router uses the newer or classic interface, but the core process is the same.
Here is a step-by-step guide to get your network up and running.
🛠️ Before You Begin: What You’ll Need
A little preparation will make the setup much smoother. Before you start, gather the following information and equipment:
Your ISP Connection Details: You will need to know your internet connection type. This is usually one of the following:
Dynamic IP: Most common for cable internet; no extra details are needed.
PPPoE: Common for DSL or fiber; you will need the username and password provided by your ISP.
Static IP: Your ISP will provide you with a fixed IP address and related settings.
VLAN ID: Some ISPs require a specific VLAN ID for the internet connection. This should be provided by your ISP.
Your Router and Modem: Ensure you have your TP-Link router, its power adapter, an Ethernet cable, and your modem (if you have one).
A Connected Device: A smartphone or computer to access the router’s setup page.
🚀 Step-by-Step Configuration Guide
Phase 1: Physical Connection
Power Down: Unplug your modem from power. If it has a backup battery, remove it for about 30 seconds.
Connect Modem to Router: Use an Ethernet cable to connect your modem to the WAN port on your TP-Link router. The WAN port is often colored blue or labeled “Internet”. If you have an Ethernet wall jack instead of a modem, connect that directly to the router’s WAN port.
Power Up: Plug your modem back in and wait about 2 minutes for it to restart and stabilize. Then, connect the power adapter to your TP-Link router and turn it on.
Phase 2: Access the Setup Wizard
You can choose between the mobile app or a web browser. Both methods will guide you through the same core configuration.
Option A: Using the TP-Link Tether App (Recommended for Mobile)
Connect to Router’s Wi-Fi: On your phone, go to Wi-Fi settings and connect to the default network name (SSID) printed on the bottom label of your router (e.g., “TP-Link_XXXX”).
Launch the App: Open the Tether app. It should automatically detect your new router. Tap on it to begin.
Create a Login Password: You will be prompted to create a local password for the router. This is for security, so be sure to remember it.
Option B: Using a Web Browser (Recommended for Desktop)
Connect to the Router: You can connect your computer to the router either via the default Wi-Fi network or with an Ethernet cable.
Open the Setup Page: Open a web browser like Chrome, Firefox, or Edge. In the address bar, type
tplinkwifi.netor192.168.0.1and press Enter.Log In: When prompted, the default username and password for most TP-Link routers is
adminfor both fields. You will then be asked to create a new, secure password for future logins.
Phase 3: Configure Internet and Wi-Fi
Once you have accessed the router’s interface, the setup wizard will guide you through the final steps.
Set Internet Connection Type: The router will try to auto-detect your connection type. If it is incorrect, manually select the one that matches your ISP’s information (Dynamic IP, PPPoE, or Static IP).
If you select PPPoE, enter the username and password from your ISP.
If your ISP requires a VLAN ID, you can enter it in the “Special ISP Settings” or “IPTV/VLAN” section.
Set Your Wi-Fi Network: You will be asked to create a name (SSID) and password for your Wi-Fi network.
Smart Connect: Enabling this feature allows your router to use a single Wi-Fi name for both the 2.4 GHz and 5 GHz bands, automatically connecting devices to the best available frequency.
Finalize and Apply: Review your settings and click Apply or Finish to save the configuration. Your router will restart, and you can then connect your devices to your new Wi-Fi network.
🛡️ Post-Setup: Essential Security and Maintenance
After your network is running, take these steps to ensure it remains secure and up-to-date.
Enable WPA3/WPA2 Security: In the router’s wireless settings, ensure your security mode is set to WPA2-PSK [AES] or, if your router supports it, WPA3-Personal for the best protection.
Update Your Firmware: Enable automatic updates during setup if prompted. You can also manually check for firmware updates in the router’s administration page or on the TP-Link support website for your specific model. Keeping firmware current is critical for security patches and performance improvements.
Address “Double NAT” (If Applicable): If you are connecting your TP-Link router to another router (e.g., from your ISP), you may see a “Double NAT” warning. This can cause issues with online gaming or port forwarding. The best solution is to put your TP-Link router into Access Point (AP) mode or to connect it directly to your modem instead.
💎 Summary
To put it simply, configuring a TP-Link router involves connecting the hardware, accessing the setup wizard via the Tether app or tplinkwifi.net, and then following the on-screen steps to enter your ISP details and create your Wi-Fi network. Afterward, securing the network with a strong password and enabling automatic firmware updates will keep it running smoothly and safely.
If you run into any issues during setup, checking the connection type with your ISP or consulting your specific router model’s manual are good next steps. Hope this helps you get connected.